THE INSTRUCTION OF DISASSEMBLY OF A BOSCH VP30 OR VP44 PUMP DRIVER IN ORDER TO SEND IT FOR REPAIR:
ATTENTION! YOU DO NOT NEED TO DISMANTLE THE WHOLE PUMP OUT OF YOUR CAR.
The way of disassembly, sending and reassembly is described in details and presented in our photos separately as DISASSEMBLY – INSTRUCTION (consisted of 16 photos) and ASSEMBLY – INSTRUCTION (consisted of 13 photos). It is easy to do in all conditions. To dismantle a driver you just need simple tools such as socket wrenches Torx 25 and Torx 10 with a magnetic ending, side cutting pliers and protective gloves. It is not necessary to have any qualifications or training as our instruction leads you step by step to success.
Only in the case of Opel/Vauxhall and Saab in the first step of disassembly you need to twist off the outlet manifold, and in Ford Focus you need to dismantle the intercooler. In the rest of cars you just need to dismantle the plastic protective bonnet of the engine and you are ready to start the disassembly of the driver.
THE INSTRUCTION OF DISASSEMBLY OF A BOSCH VP30 OR VP44 PUMP DRIVER IN ORDER TO SEND IT FOR REPAIR:
Disassembly of a VP30/44 driver - instruction
01
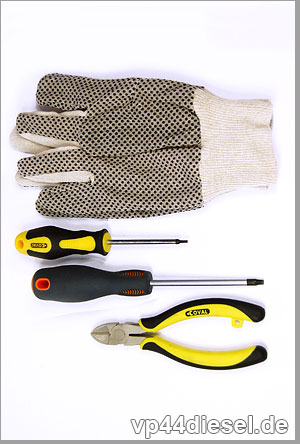
01. A set of tools necessary to dismantle the driver:
- a socket wrench Torx 25
- a socket wrench Torx 10 with a magnetic ending
- side cutting pliers
- protective gloves
02
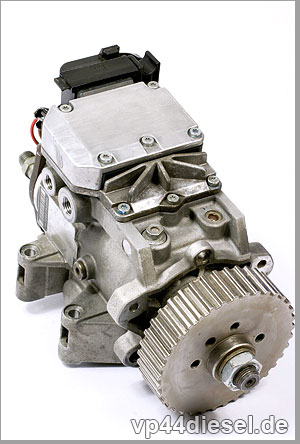
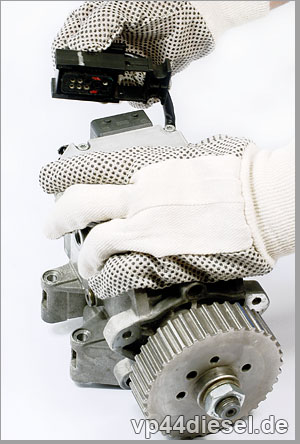
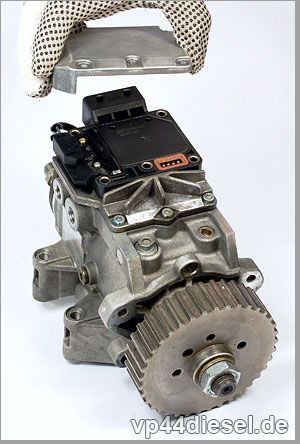
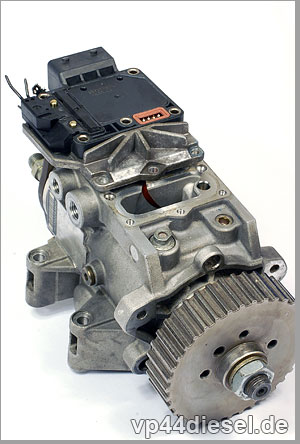
02. The view on VP44 pump before the disassembly of the driver.
Attention! To dismantle the driver you do not need to twist off the whole pump out of the car! The pump should be left in the car, you need to dismantle the driver only.
03
03. Detachment of the PSG5 plug from the driver.
In order to detach the plug you need to pull the protection that saves the plug from falling out.
05
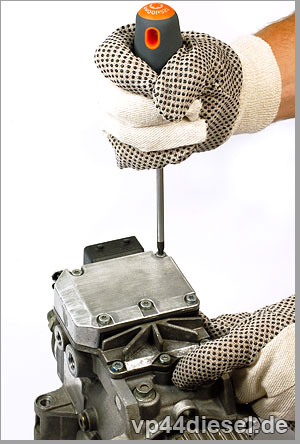
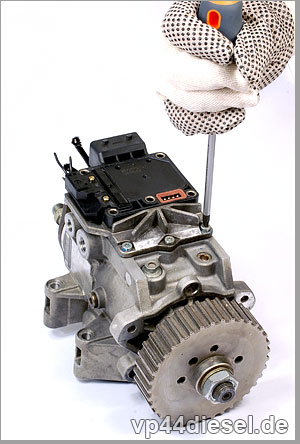
05. Twisting off the five screws attaching the cover of the driver with the use of the wrench Torch 25
07
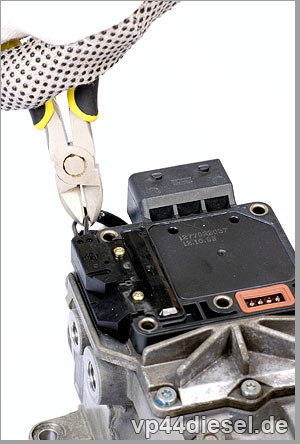
07. Cutting off the four wires connecting the driver with the electrovalves with the use of side cutting pliers.
Attention! The point of cutting the wires should be placed at least 15 mm from the edge.
08
08. Twisting off the last three screws attaching the driver to the pump (the order of removing the attaching screws is marked with numbers).
09
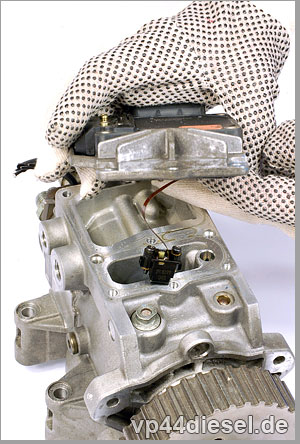
09. After unscrewing all screws, you should displace the driver carefully to the back of the pump.
Attention! You can not violently pick up the driver, because there is the rotation angle sensor under it.
10
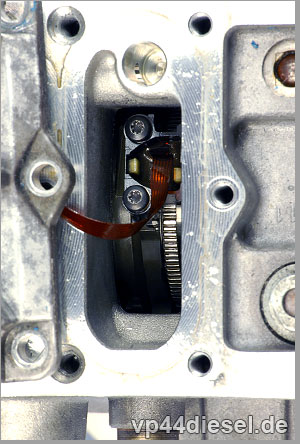
10. The view on the rotation angle sensor inside the pump, before its disassembly you need to twist off the two screws visible in the picture.
11
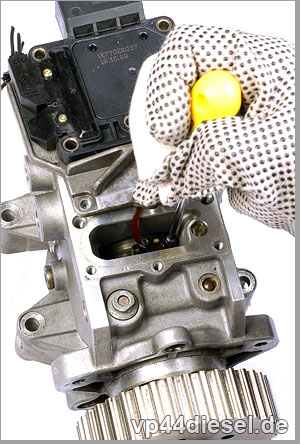
11. Twisting off the screws attaching the rotation angle sensor with the use of the wrench Torx 10 with a magnetic ending.
Attention! You need to be very careful while taking out the screws. You need the magnetic ending of the wrench not to allow the screws to fall into the pump.
13
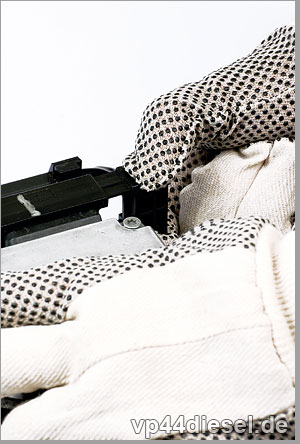
13. The view from above on the dismantled driver.
Attention! You need to protect the rotation angle sensor from being damaged in transport. The picture (in the frame) shows how to protect the sensor from displacement in transport with the use of wire (especially the tape joining the sensor with the driver is quite sensitive and may be damaged in transport).
At the housing of the driver you can see its serial number and date of production.

14
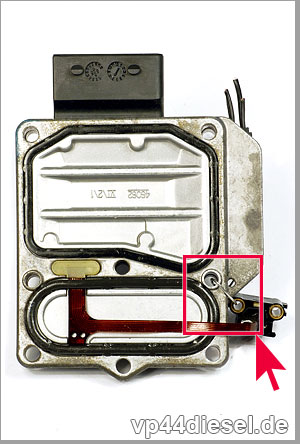
14. The view on the driver from below.
Attention! Similarly to the previous photo you can observe (in the frame) that the rotation angle sensor is attached to the driver with the wire, which prevents the driver and the tape joining it with the sensor from being damaged in transport.
16
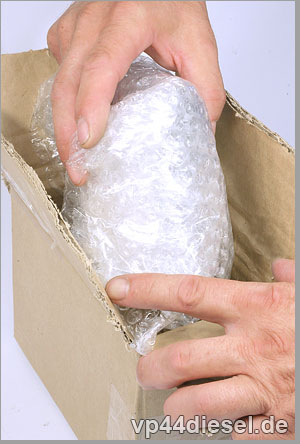
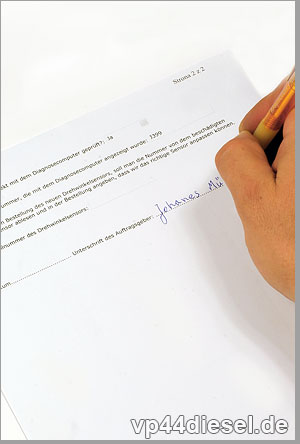
16. Packing the secured driver into the carton. The driver should be wrapped up in bubble foil or other material that will protect the driver in transport.
Attention! The parcel should contain a legibly filled out and signed order form. Then you can send it at your expense to our address:
ZIPART Ltd.
ul. Chynowska 8
PL 65-138 Zielona Góra
Poland