The broken ABS driver should be dismounted and sent for repair to our company. The disassembly of a driver is not complicated and does not require any special qualifications, you just need to follow to our instruction of disassembly.

First of all, you need to find the place where the ABS driver is mounted. Depending on the car model, it can be found in different places. When you find the ABS driver, you need to complete necessary tools and then, step by step, follow the actions shown in the pictures below. To make the process of disassembly more visible, all the photos were made in the photo studio, however, in normal conditions do not dismount the ABS hydraulic set out of the car, just disconnect and twist off the ABS driver from the hydraulic set.

THE INSTRUCTION OF DISASSEMBLY OF AN ABS DRIVER IN ORDER TO SEND IT FOR REPAIR:

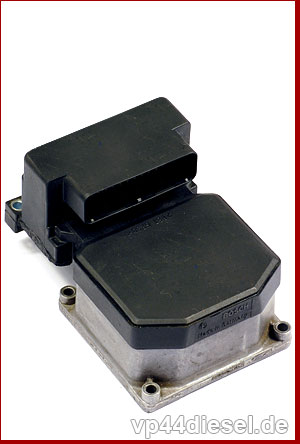
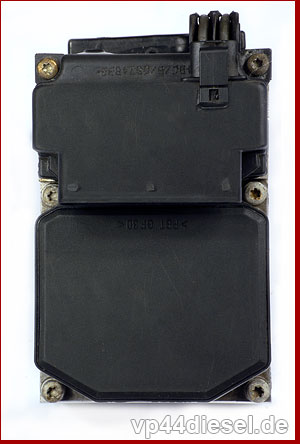
Disassembly of a Bosch ABS driver type 5.3 – instruction

01

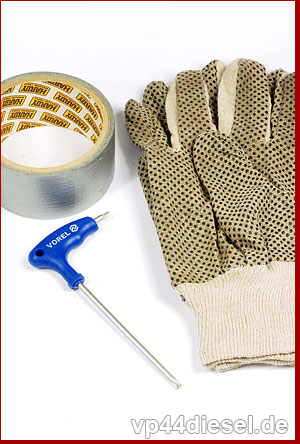
1. The tools necessary to dismantle the ABS driver:

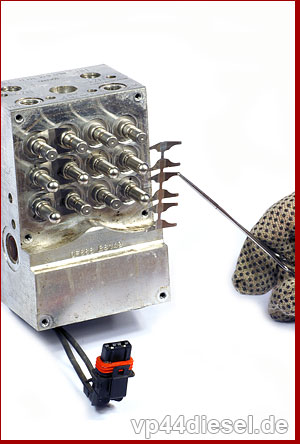
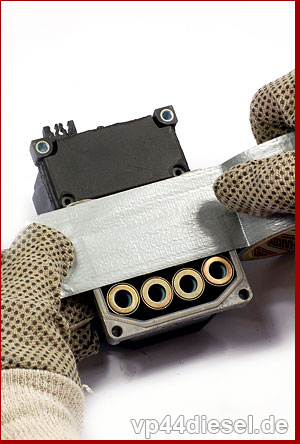
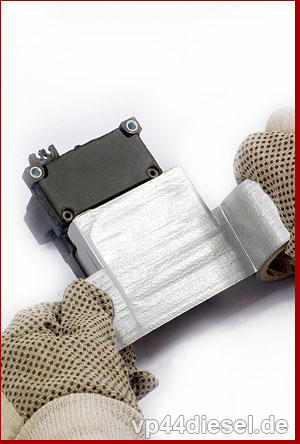
workshop gloves, a wrench Torx no. 20, adhesive tape to save electromagnet coils in transport.
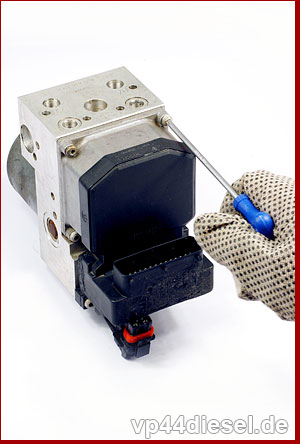
02

2. The general view on the ABS hydraulic set.

03

3. The view on the six screws attaching the ABS driver to the hydraulic set.

04

4. Release the clasp of the power plug of the ABS pump engine.

05

5. Take out the power plug of the ABS pump engine.

06

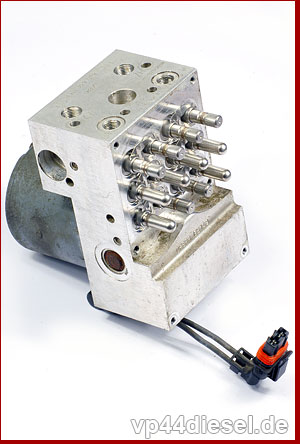
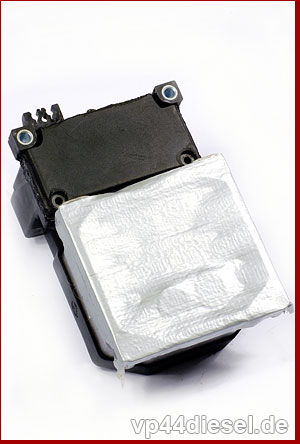
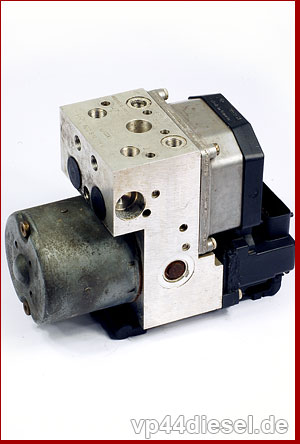
6. Twist off the six screws attaching the ABS driver to the hydraulic set with the use of the wrench Torx no. 20.
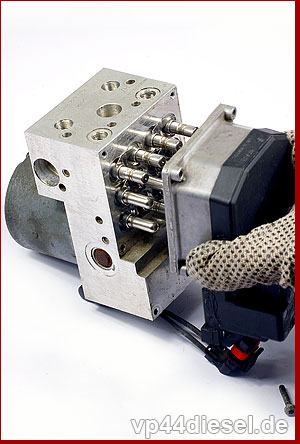
07

7. Separate the ABS driver from the hydraulic set.

08

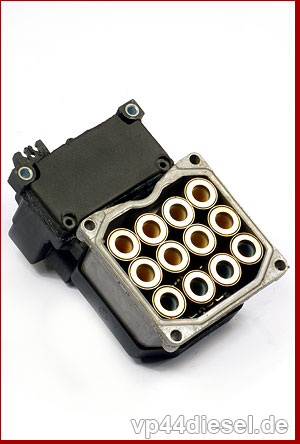
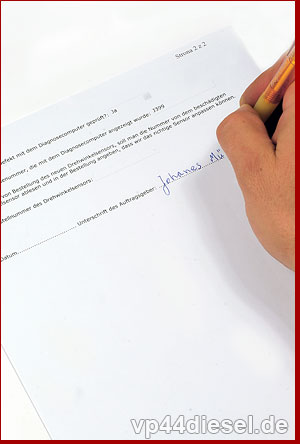
8. The view on the hydraulic set without the ABS driver (do not send us the hydraulic set, it should stay in your car).

09

9. Dismantle the springs from the hydraulic set and put them somewhere together not to lose them (do not send them to us, you will assemble them when the repaired driver is back).

10

10. The view on the dismantled ABS driver from the side of the valve coils.

11

11. The view on the ABS driver from the side of the power plug.

12

12. Tape the valve coils of the ABS driver to protect them in transport.

13

13. Tape the valve coils of the ABS driver with the second layer of adhesive tape.

14

14. The view on the ABS driver with the secured valve coils, the driver is ready to be packed.

15

15. Fill out the order form, sign it and put into the parcel.

16

16. Wrap up the ABS driver in bubble foil to protect it in transport.

17

17. Pack the ABS driver into the carton and send to our address:

ZIPART Ltd.

ul. Chynowska 8

PL65-138 Zielona Góra

Poland

Our website uses cookies.
Learn more about the purpose of their use and about change of their settings in your browser. By using this website you agree to the use of cookies in accordance with current browser settings.