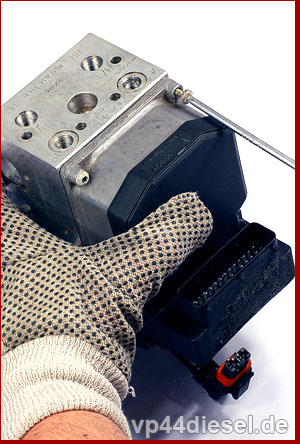
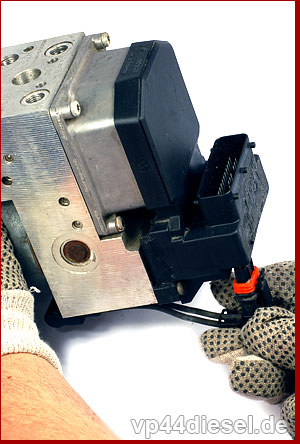
THE INSTRUCTION OF ASSEMBLY OF THE REPAIRED ABS DRIVER AFTER DELIVERY:
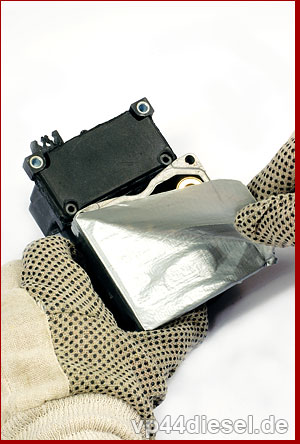
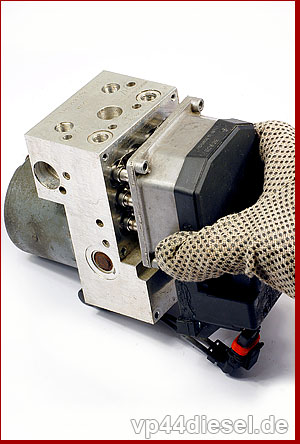
The repaired ABS driver should be mounted in the reverse order in reference to its disassembly. The assembly of an ABS driver is not complicated and does not require any special qualifications, you just need to follow our instruction of assembly.
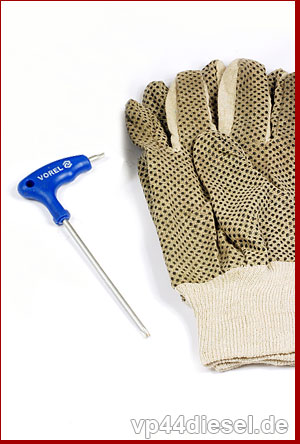
First of all, you need to complete necessary tools, and then, step by step, follow the actions described and presented in the pictures below. To make the process of assembly more visible, all the photos were made in the photo studio, however, in normal conditions do not dismount the ABS hydraulic set out of the car, just disconnect and twist off the ABS driver from the hydraulic set.
THE INSTRUCTION OF ASSEMBLY OF THE REPAIRED ABS DRIVER AFTER DELIVERY: